
BIG REFILL POUCHES! Accounts, and a fresh website.
By popular demand I’m now offering big 810g refill pouches! Each pouch has THREE jars worth of your favourite sauce, […]
By popular demand I’m now offering big 810g refill pouches! Each pouch has THREE jars worth of your favourite sauce, […]
We’re away for Easter, we’ll be back Saturday and Sunday from next week 11-12 April! If you need a fix
MAMA SMOKE is proud to present the 2025 Christmas Hamper Special! A collection of all the delicious MAMA SMOKE crispy
Mama Smoke is teaming up with the legendary Lady Chu to present a pop-up degustation in a special space at
MAMA SMOKE has been selected as a finalist as Best New Business in Waverley Council’s Brightest and Best Business Awards!
International shipping is now live in the MAMA SMOKE store! In exciting MAMA SMOKE shipping news, we’re now offering international
Mama Smoke is proud to present our new jar labels! Our new labels are completely plastic-free, and are now made
Happy to announce that Sydney locals can now select “Local Pickup” in our shop, and save on shipping! I have
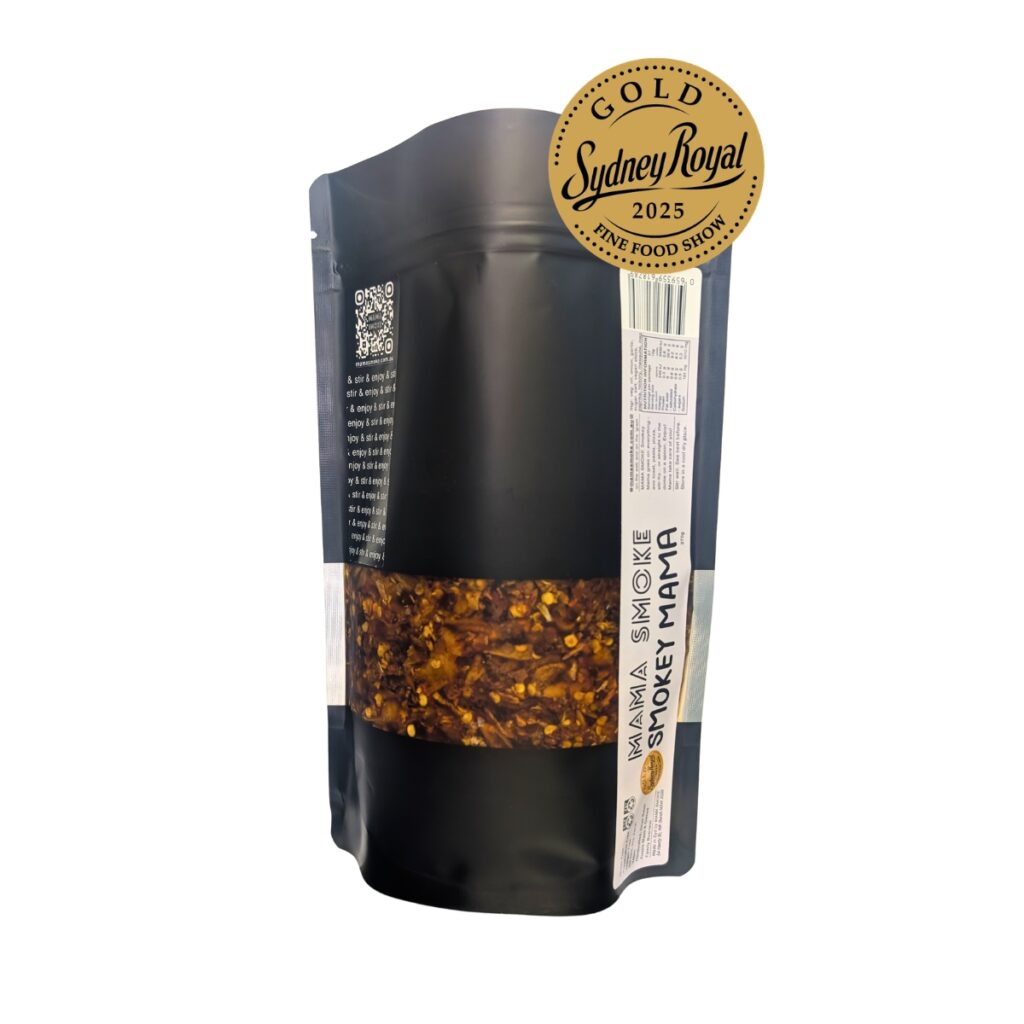
Great news for Mama Smoke handmade sauce fans, I have added a new flavour to my range – Smokey Mama!
Refreshed from an epic summer family adventure, Mama’s back! Chilli Crisp is back on sale in the shop, and there’s